
My husband, Matt and I make homemade pizza pretty much every Sunday, it’s a (delicious) tradition. And while you might think I’m in charge of pizza night, it’s actually Matt who takes credit for the the most important part – the dough. And for good reason too, his dough is the best. Truth be told, I would rather have Matt’s pizzas than any restaurant pizza.
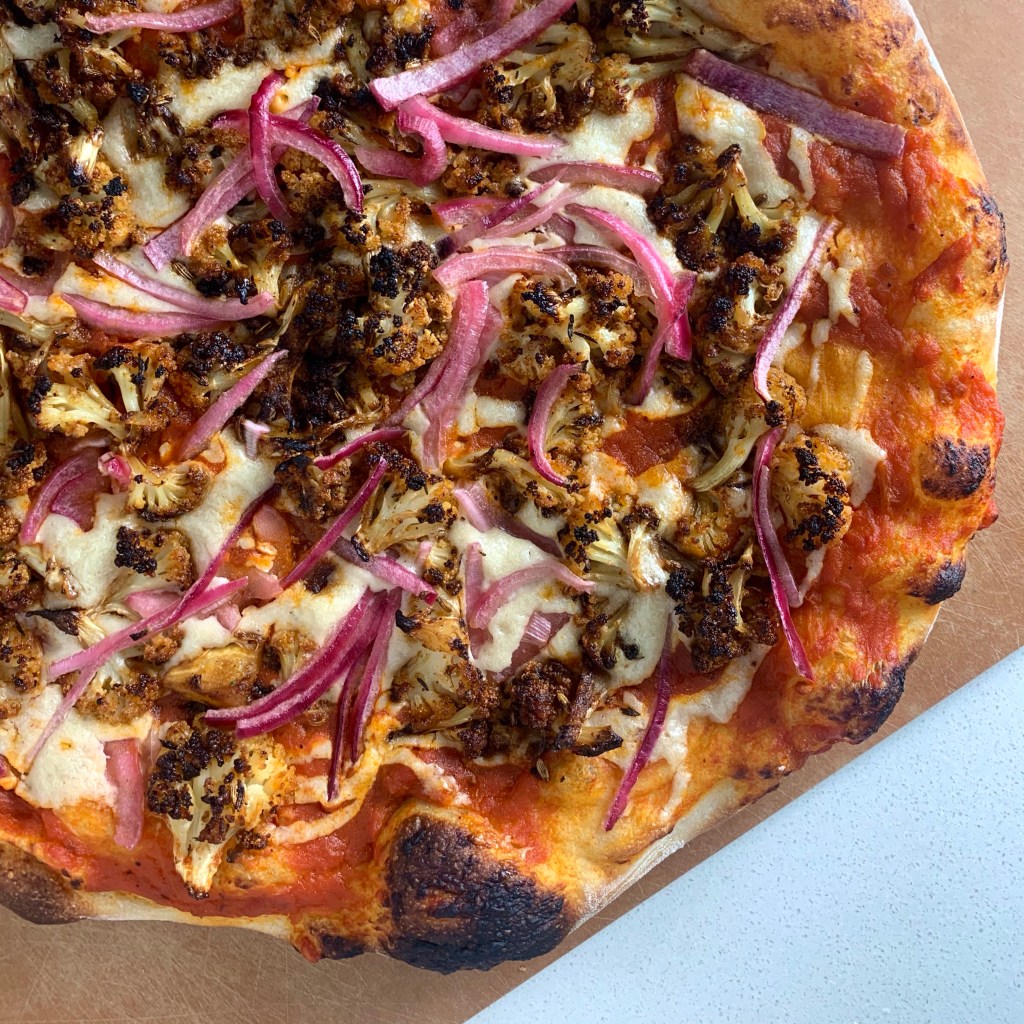
Not only are his pizzas my favorite because I get to curate the toppings exactly the way I want them (dairy-free and veg-heavy), but they’re also my favorite pizzas because this dough… this crust… it’s pure perfection. Crispy on the outside, soft, chewy and bubbly on the inside, it’s every thing I want in a pizza.


Matt has spent a lot of time working on this dough recipe, but he’s been hesitant to share it. Why? Because truth be told, pizza dough is both very flexible and very finicky. There’s a lot of room for error, until there’s not. Just when you feel like you’ve gotten the hang of it, one batch doesn’t turn out quite right. Pizza making is an art form and it’s not always perfect, don’t get discouraged. My best advice would be to weigh the flour and water for more exact measurements. And to be patient with kneading and that first rise.
Ultimate Pizza Dough
Servings: 4-6
Ingredients
440 grams warm water (approx. 95°F, 1.75+ cups)
1 tablespoon pure maple syrup or honey (15 grams)
1/2 teaspoon active dry yeast
660 grams all purpose flour (5.25 cups)
2 teaspoons sea salt, fine grain (15-20 grams)
* I always weigh the flour and water with a small food scale, the cup measurements listed are approximate
To Make
Water + Maple Syrup + Yeast
In the bowl of a stand mixer or in a large mixing bowl, add warm water and maple syrup, stir to combine. Sprinkle yeast over warm water. Gently and briefly stir once or twice to submerge yeast. Allow yeast to bloom for 10 minutes, until foamy. Sometimes yeast gets foamier than other times. If it’s only slightly puffed in a large mass it’s still good. If no reaction occurs the yeast isn’t usable and should be discarded.
Add Flour + Knead
Add flour and salt to the mixing bowl and place in mixer with the hook attachment. Start off at speed 1, and increase slowly as flour is incorporated. Stop at speed 3 or 4 (medium-low) and allow machine to run for 2 to 3 minutes, keeping an eye of the machine as it might shake. No mixer? Hand knead on a lightly floured surface for 5-7 minutes, until smooth and sticky.
Allow Dough to Rise (2-5 hours)
In one motion, pull dough off of dough hook and into the bowl. If hand kneading, transfer dough ball back into the mixing bowl. Seal bowl with an air tight lid/cover and allow to sit until doubled in size.
The dough can rise at room temperature, this takes about 2 hours. Alternatively, allow the dough to sit at room temperature for 20-30 minutes before putting in the fridge until doubled in size, 4-5 hours. If you’re in a pinch and won’t be around in 20-30 minutes, putting dough directly into fridge is fine too. Point is, it’s flexible, you just want the dough to double in size.
Divide into Smaller Dough Balls
Divide the large dough ball into 4 equal sections (you can cut it with a chef’s knife or dough scraper). Each of the 4 doughs serves 1-2 people. In order to get more bubbles in the crust, try to force air into the center of each dough ball as you form it. To do this, pull the outer edges of each smaller dough ball underneath itself, trapping air as you form a smooth dome on the top. Transfer the four dough balls to a tray and seal with an air tight cover.
One More Short Rise (30 minutes +)
Allow dough balls to rest once more, either at room temperature for about 30 minutes or in the fridge for up to 2 days. I personally like working with softer dough, so if refrigerating for later, I remove the dough from the fridge 20 minutes prior to cooking.
Stretch the Dough + Top + Bake
On a lightly floured surface, press or stretch the dough balls to be the size of a standard pizza peel (14”). Once stretched, transfer to a flour peel or oiled pan. Top with desired pizza toppings.
Bake in a super hot oven, 500°F if possible, for about 8-9 minutes. We use a Baking Steel which is a super heavy slab of steel used for cooking pizzas and baked goods in a conventional home oven. I highly recommended investing in one of these if you love making pizza. Using a baking steel allows for better color on both the upper crust and bottom of the pizza, plus helps encourage crust bubbles. Depending on temperature and oven-variances, your pizza may take up to 15 minutes to fully bake.

We have a similar delicious tradition too ☺️ and my husband is the pizza master too 😋 Nothing is better than a delicious home made pizza 🍕☺️
LikeLiked by 1 person
Pizza is my go-to food. 🍃🍕
LikeLike
The pizzas look so yummy! My Italian boyfriend and I have homemade pizza every Saturday 🙂 He’s the one taking care of everything, and me too I prefer his pizzas to any pizzeria’s – and we live in Italy 🤣
If you have time, go check out my new food blog: https://zerowasteinmykitchen.wordpress.com/
LikeLike